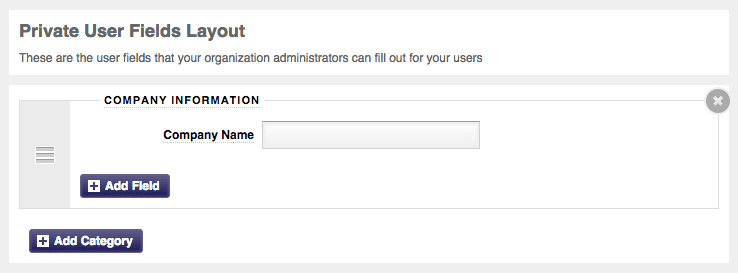
Private user fields are similar to the basic user fields that you learned about here, but the main difference is that private user fields are only seen, and filled out, by administrators.
Creating private user fields takes just a few steps:
-
- Go to the “Administration” tab.
-
- Select “Private User Field Layout” from the menu.
-
- You will need to first add a category, so select the “Add Category” button.
- You will need to first add a category, so select the “Add Category” button.
-
- Now that you have added a category, you are ready to add a field – select the “Add Field” button. You will see that you have user field options to choose from Common and Custom. *Common Fields: These are fields that are used by the majority of organizations (such as phone number, address, etc.). *Custom Fields: This gives organizations the ability to create their own fields that may not necessarily be fields that are often used.
-
- If you choose to create a custom field there are a number of field types that you can choose from such as text, checkbox, date, drop down, email, radio buttons, etc.
-
- You can also modify the field size to make it smaller or larger.
- If you require this information from each and every student, you can choose the “Required” option and the student will have to fill in this information during the account creation process.
To access these fields you will want to go to the ‘Administration’ tab and select ‘Users’. Click on the user’s name and click on the ‘Private info’ tab – here is where you will be able to fill out/edit the fields you just created.


