In just about every industry, checklists are a must. For the eLearning industry specifically, checklists come in handy for content creation, course building, and even grading and follow-ups – the list goes on and on. With all of your to-do’s, it’s important to have a go-to tool that helps you manage it all.
Evernote is a virtual workspace to help you get things done. Use it to keep your short lists, or lengthy research together in one place. With this tool you also have the ability to clip web articles, capture handwritten notes, and snap photos to keep digital details of your work. Communicate, collaborate, and share in real-time, all within Evernote. If you are ready to present, it’s no problem. Just click and transform your notes into a screen-friendly layout. Bonus: Evernote is compatible on all devices.
Now that you’ve found another great eLearning tool, how does it work? Let’s create a checklist with Evernote. Just follow the steps below to get started.
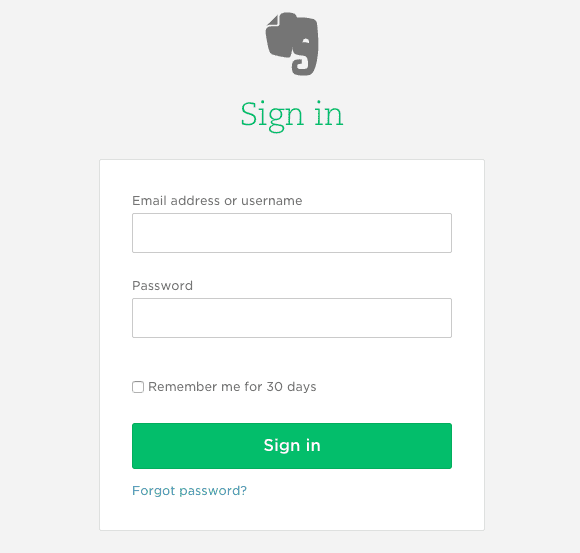
- First, log into your Evernote account. For this example, we are using the basic account.
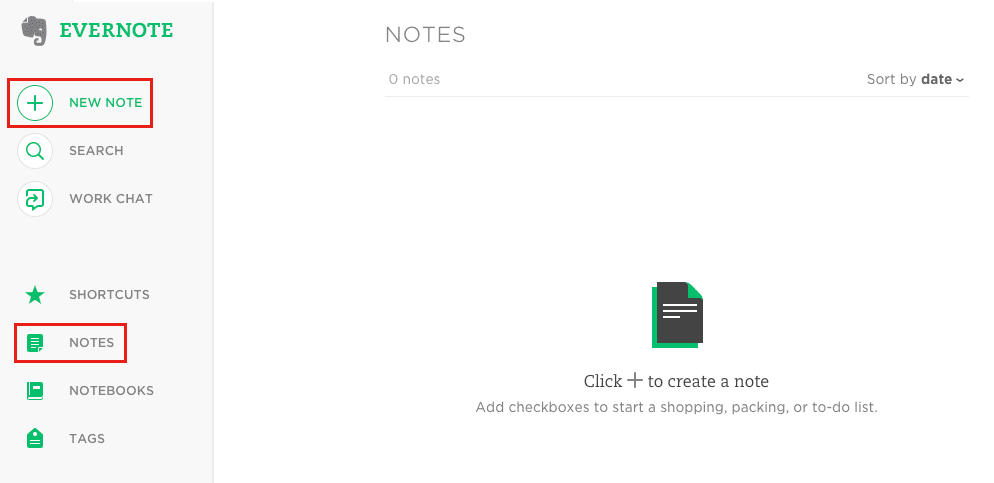
- Once logged in, you’ll be on the dashboard. Click “Notes” and then “+ New Note” to create a new checklist.
- Title your note and hover over your icons on the right side. You’ll see a checkbox for “To-Do List”. Click it and begin adding your tasks.
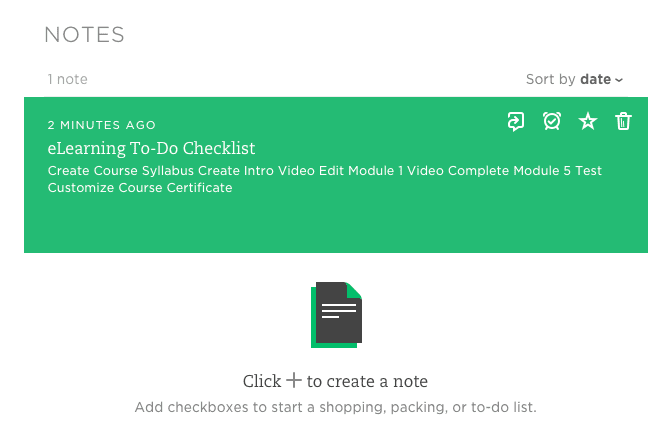
- Once complete with your checklist, your note will now show up on your dashboard. You can always access it to make changes or add new tasks.
That’s it! Easy right? If you haven’t found the perfect checklist tool yet, this could be the one. It’s easy to use and has a clean, simple interface.
What other task management tools do you use? Please share in the comments below!


