Want to learn more about how to use worklist? Follow along and we’ll show you the different ways that you can use one in your organization.
A worklist allows you to add multiple users to a list and mass edit their information, register them for a course, email all users in the list, and if need be delete them from your organization.
How do I add users to the worklist?
Follow the 3 steps below and they’ll be added!
-
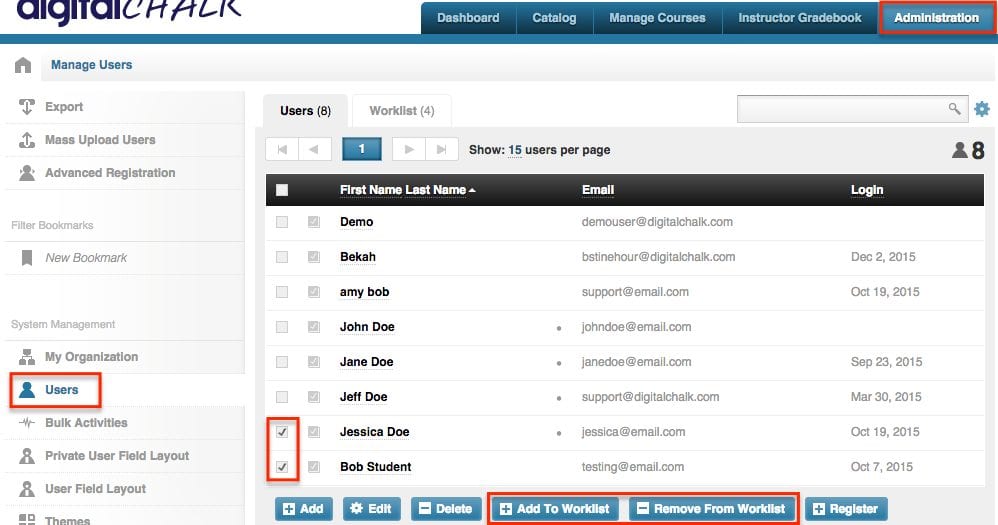
- Go to the ‘Administration’ tab.
-
- Select ‘Users’ from the left side menu.
- Check the box to the left of the user’s name, scroll to the bottom of the list and you’ll see a button to add them to the worklist.
Helpful hint: If you see dot to the left of the user’s email that means that they are in the worklist already.
How do I see what users are in the worklist?
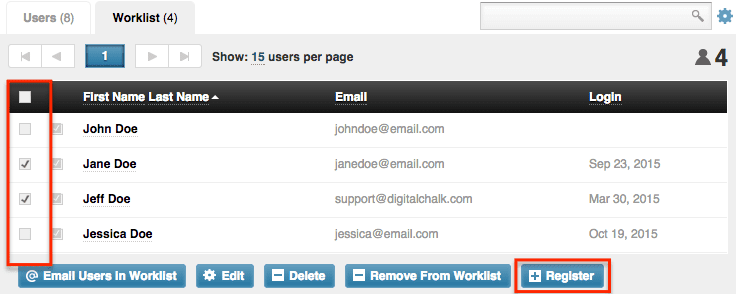
To view the users in your worklist you will want to still be in the ‘Users’ section under the ‘Administration’ tab. You will see above the list that there are 2 tabs, ‘Users’ and ‘Worklist’. Select the ‘Worklist’ tab and you will be see the list of users.
How do I register users?
While you are in the worklist tab you will want to check the box to the left of any user you want to register. Scroll to the bottom of the list and you will see a ‘Register’ button, click it. A window will open up that will let you select what offering you want them to be registered for.
How do I edit users?
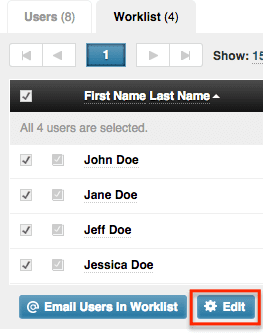
You will want to check the box to the left of the user’s name that you would like to edit (you can select all or just a few), and again scroll to the bottom of the list and you will see an ‘Edit’ button – click it. A window will open up where you can edit any user fields for your organization.
How do I email users?
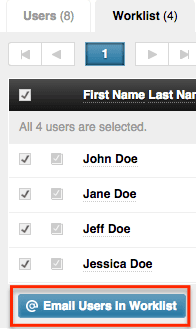
When you view the worklist you will see an ‘Email users in worklist’ button. You can click on this and send an email to everyone in the worklist without checking the box to the left of their names.


