Content creation has a bit of a false aura surrounding it. Too many people believe that online training has to be difficult to create or that courses have to be packed full of all the newest, most innovative technologies. While complex, technologically advanced course content is valuable in its own right, it’s not the only useful or valuable kind of content out there.
That’s our way of saying that creating and selling online courses is easier than you think. Your courses don’t have to be fancy at all. They just need to make good use of the resources you already have available. We’re willing to wager that you probably have more course-building resources at your fingertips than you might think.
Did you know that it’s possible to create courses entirely with pre-existing content? You don’t have to make anything new. You just have to know how to repurpose content you already have access to. All in all, you could have a fully functional course ready to sell in only 20 minutes using only materials that you already have.
In a previous post, we discussed how to repurpose PowerPoint presentations and how to upload them as course elements in a DigitalChalk course. In this post, we show you how to do the same thing with the Web Archive course element.
What Is a Web Archive?
A Web Archive is a course element in DigitalChalk that you use to link learners to websites as part of your course. Learners can view the material, and admins can see how much time the learners spent viewing the website. Web Archives are particularly useful if you’d like to link learners to online articles related to their learning objectives or an informational video on YouTube. You can also send learners to any other website with relevant teaching materials.
How Do I Import a Web Archive?
Follow these easy steps and you’ll learn how to import a Web Archive to your DigitalChalk course:
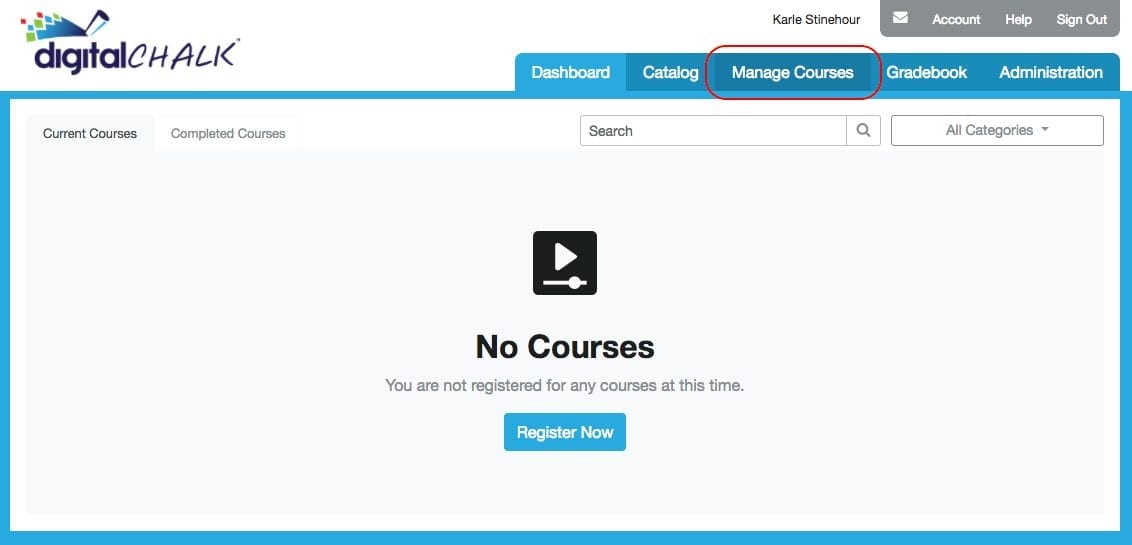
1. In your organization, select the “Manage Courses” tab.

2. If the course that you want to add an element to already exists, select it and click “Manage Course Elements.” If you haven’t created the course yet, click “Create a New Course.” For more in-depth instructions on how to create a course in DigitalChalk, read this blog.

3. On the side menu, click “Import a Web Archive.”

4. Provide a title for your Web Archive, select “External URL,” and copy and paste a website URL into the “External URL” field. For our example, we’re going to use the DigitalChalk homepage for the URL. When you’re finished just click Submit.
*Note: You can also upload any ZIP file if you select “Archive ZIP file.” Essentially, when learners open the course element, DigitalChalk opens the content of the ZIP file as a website.

5. Activate the course element.

Now, when learners take your course, the Web Archive will take them to the website that you specified as part of the course. In our example, learners would be taken to the the DigitalChalk homepage where they could explore the entire website.
Web Archives are a great choice if you want to create a course using existing web content. You don’t have to go through the hassle of using instructional design software, coding, or editing audio and video. All you have to do is copy and paste a URL, and you’ll have a fully functioning course element in your DigitalChalk course.
Now, what should you do if you want to add some more simple course elements to your course? We’ll get to some of that in the coming blog posts, so be on the lookout for course creation tips and tricks in the near future! We hope you’ll join us for our newest learning series to get tips and tricks for selling your courses online.
For now, we invite you to register for our free webinar to learn how to easily and safely grow your online eLearning business with the DigitalChalk platform.
