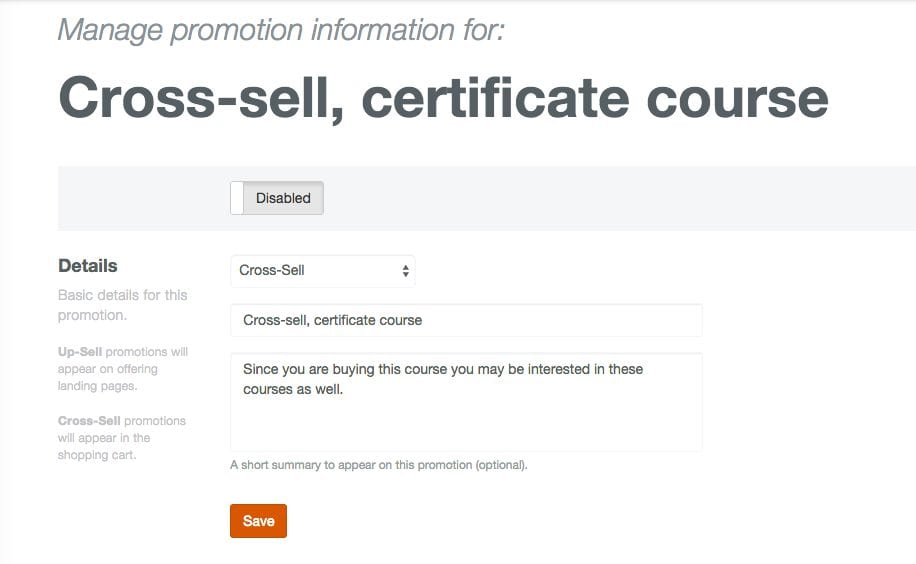
Want to easily promote your courses depending on what a user is looking at or has in their shopping cart? We are excited to announce our brand new Promotions feature that allows you to cross-sell or up-sell any of your courses!
What is up-selling?
Up-selling lets you suggest specific courses on an offering landing page for users to purchase.
What is cross-selling?
Cross-selling gives you the ability to suggest specific courses in a student’s shopping cart depending on what course(s) they have added to their cart.
How do I create a promotion?
There are a few steps to creating a promotion, but it’s an easy process. You just need to know whether you want to up-sell or cross-sell, and what courses you want to promote.
To create a promotion you will want to:
-
- Go to the ‘Administration’ tab.
-
- Select ‘Promotions’ from the left side menu.
-
- Click on the ‘New Promotion’ button, or ‘Add your first promotion’.
-
- Click on the drop-down menu and select ‘cross-sell’ or ‘up-sell’.
-
- Enter in the name of the promotion – users won’t see this on their end.
-
- Enter the summary and hit the ‘Save’ button – students will see this message on their end.
- Click the ‘Save’ button to save the basic information of the promotion.
After you have saved the details you will now see that there is ‘Triggers’, ‘Courses’, and ‘Preview’ sections.
In the ‘Triggers’ section you will be asked to select whether you want the courses to show if the student has a specific course(s) in their cart, or if they are looking at a specific offering landing page for a course using the default option ‘Show with courses(s)’. The next step is to search, and add, the course(s) you would like to trigger the courses visibility in the cart or landing page.
You can also choose to have it show up regardless of what landing page is being viewed, or what courses are in the shopping cart by selecting ‘Always Show’.
The ‘Courses’ section is where you will choose what course(s) will show up depending on what is in their cart or what landing page they are viewing. Simply begin typing the title of the course offering and click on it to add it to the promotion.
The ‘Preview’ section simply lets you see how it’s going to appear your users. Once you reviewed everything and you are ready for it to go live you will want to go back to the top of the page and click on the ‘Disabled’ button to change it to enabled and then click the ‘Save’ button and your promotion will be live.
Helpful hint: Changing a promotion from disabled to enabled will show a date field where you can choose to run the promotion with no end date, or if you want it to be temporary you can enter in specific dates for to be live.


